
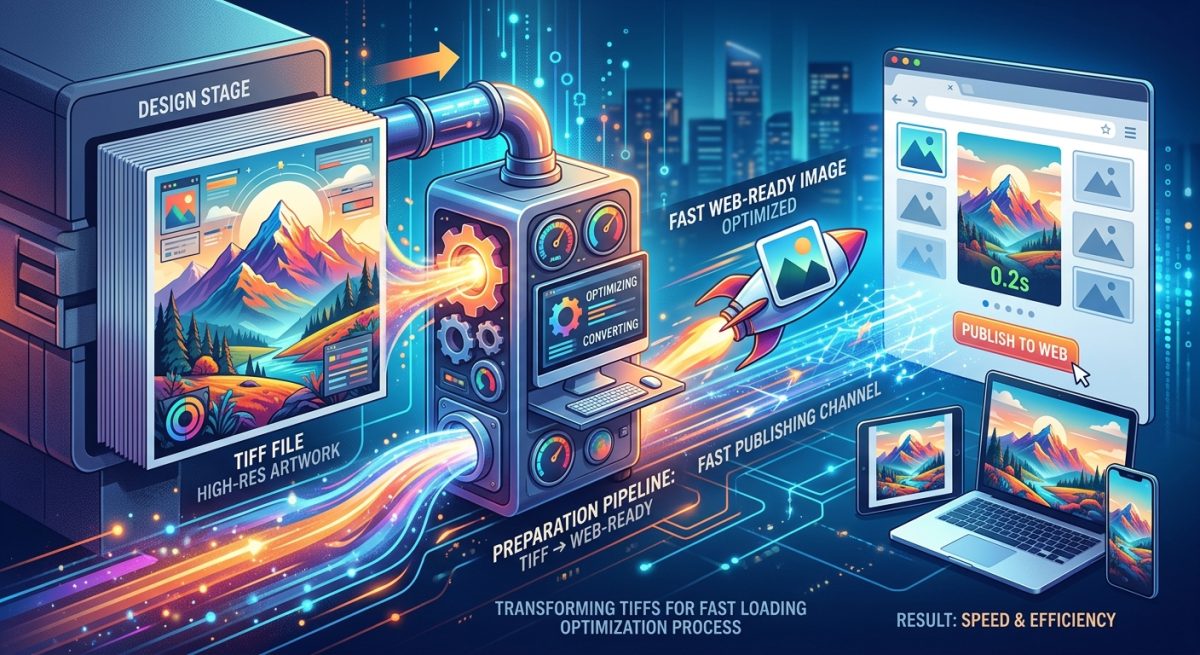
How to Prepare TIFF Design Files for Faster Web Image Publishing
Your artwork looks sharp in the design editor. Then you upload it, and the page crawls. A large TIFF can carry far more image data than a website needs, especially when it started as a print file or a detailed scan. Preparing it for the web means making deliberate choices about size, color, and compression. Done carefully, you can keep the details people notice while cutting the data they have to download.
Your Web Export Plan: Keep the original TIFF as your editable master. Prepare a separate copy, crop it for its intended placement, and resize it to useful pixel dimensions. Convert the color profile to sRGB for a dependable general web workflow. Choose JPEG for photographs, PNG for crisp graphics or transparency, and WebP when your publishing setup supports it. Adjust compression while comparing previews, then check the uploaded image inside the actual page before publishing.
Start With a Separate Copy of Your TIFF
A TIFF is a useful source file because it can retain detailed image information. Depending on how it was saved, it may contain layers, high bit depth, transparency, or extra channels. Those features can help during editing. They can also increase storage size and complicate conversion.
Keep that source intact. Create a working copy for web preparation, or use an export command that leaves the master untouched. This gives you room to change the crop, reduce dimensions, and test several formats without losing the original material.
Open the TIFF in an editor that understands its contents. Check that fonts, layer effects, and blending appear as intended. If the file contains multiple pages, identify which page belongs on the website. A converter may process only one page or handle pages differently from your editor.
Before changing anything, check the details that will shape your export:
- Pixel dimensions: Note the current width and height, then compare them with the intended page placement.
- Color settings: Check the color mode, embedded profile, and bit depth.
- Transparency: Decide whether the background should remain transparent or become a solid color.
- Visible content: Confirm the crop, active layers, and any text baked into the artwork.
Size the Image for Its Actual Page Placement
Pixel dimensions are one of the strongest controls you have over file size. A photograph that measures 6,000 pixels across rarely needs that full width in a blog content column. Exporting excess pixels asks visitors to download detail that the layout may never display.
Find the largest intended display size first. If an image appears at 800 CSS pixels wide, a 1,600-pixel export can provide enough detail for a screen using a device pixel ratio of two. That is a starting point, not a rule for every placement. Full-width banners, thumbnails, and zoomable product images have different needs.
Ask whether your publishing system creates responsive variants. If it does, supply an appropriately sized source and inspect the versions it produces. If you manage exports yourself, prepare a few widths that match the layout. The page must also select suitable versions through its image markup. Uploading several files alone does not create responsive delivery.
Crop Before You Resize
Choose the aspect ratio before reducing dimensions. A wide header might need a tighter crop than an image inside an article. Cropping first prevents you from spending your pixel budget on areas that will disappear later.
Keep the subject clear at smaller sizes. Fine lettering that reads comfortably in a large TIFF may become unreadable in a mobile card. Sometimes the right fix is a separate crop or revised artwork, rather than a larger download.
Use Pixel Counts Instead of Print Resolution
Changing a resolution label from 300 PPI to 72 PPI does not necessarily reduce the image’s pixel dimensions or download size. The result depends on whether resampling is enabled.
For web preparation, work directly with width and height in pixels. Reduce those dimensions with resampling when needed. Review edges and textures afterward, since resizing changes how fine details are represented.
Convert Color Before Making the Final Export
A TIFF prepared for print may use CMYK. Another file may use Adobe RGB or a different RGB profile. These settings describe how color values should be interpreted. They deserve attention before you judge an export’s appearance.
For a straightforward web workflow, convert the working copy to sRGB using your editor’s color-management controls. Use conversion rather than simply assigning sRGB. Assigning a different profile changes how existing values are interpreted and can visibly shift colors.
If the TIFF has no embedded profile, establish its intended source profile before converting. Check the original application settings or ask whoever supplied the artwork. Guessing can turn a color problem into a permanent export mistake.
Inspect saturated colors, skin tones, and neutral grays after conversion. Some colors from a wider source space cannot be reproduced exactly in sRGB. Adjust the web copy if needed, keeping the intended appearance in view.
Keep an sRGB profile embedded when your export settings permit it. Remove unnecessary location data, thumbnails, and editing metadata separately. Profile information has a purpose, so avoid stripping all metadata without checking what your tool removes.
Choose an Output Format That Matches the Artwork
Once the crop, dimensions, and colors are ready, choose the delivery format. The best choice depends on the image itself. A portrait and a transparent interface graphic place very different demands on compression.
For photographs and flattened artwork with continuous tones, TIF to JPG provides a conversion option. Prepare the source copy first, then inspect the resulting JPEG. Check the converter’s available settings and verify that dimensions and colors match your intended output.
JPEG works effectively for photographic detail, but it does not preserve transparency. If your artwork has a transparent background, flatten it against the intended background color before creating a JPEG. Otherwise, choose a format that retains transparency.
PNG is often a better fit for screenshots, sharp lettering, and graphics with flat colors. Its lossless compression avoids the fuzzy edges that lossy settings can introduce. A detailed photograph saved as PNG may remain unnecessarily large, though.
WebP offers another route for photos and transparent artwork. Official documentation describes WebP compression as supporting both lossy and lossless modes, with transparency available in both. Test which mode suits your asset and confirm that your publishing system accepts and delivers the files correctly.
Match the Format to the Image Content
| Format | Useful for | Main Tradeoff |
|---|---|---|
| JPEG | Photographs and flattened tonal artwork | Lossy compression can damage fine edges; transparency is unavailable. |
| PNG | Screenshots, lettering, and transparent graphics | Lossless detail can produce large files for photographs. |
| WebP | Photographs and graphics, including transparent assets | Mode and quality settings need testing within your publishing workflow. |
Reduce File Size Without Losing the Details That Matter
Compression needs a visual decision. Start with a moderate or high quality setting, export a preview, and lower the setting gradually. Compare each result with the prepared source at its intended display size.
Quality numbers are not interchangeable between applications or formats. A setting of 80 in one exporter may produce a different result from 80 in another. Judge the exported image and its file size, rather than trusting the number alone.
Look closely at hair, foliage, gradients, and high-contrast boundaries. These areas often reveal compression damage. Blocky texture, color bleeding, and bands in smooth backgrounds are reasons to adjust the settings or try another format.
Set a file-size budget around the page’s needs. A large feature image can justify more data than a small thumbnail. A gallery with twenty images needs a different budget from a page with one illustration. There is no single kilobyte target that protects every design.
Avoid repeatedly editing and saving an existing JPEG. Repeated lossy encoding can accumulate damage. Return to the prepared TIFF copy for each new export, and apply any final sharpening cautiously after resizing.
Check the Published Result Before You Sign It Off
A good local export is only part of the job. Content management systems may resize, recompress, or convert uploaded files. Inspect what the browser actually receives, because that version is what your audience sees.
View the image in its intended layout on desktop and mobile. Check it against the surrounding background, especially if transparency is involved. Pale fringes around a cutout may stay hidden on white and become obvious on a dark page.
Use this final review before publishing:
- Appearance: Compare colors, gradients, lettering, and fine detail with the prepared source.
- Placement: Confirm that the crop works at each layout size and keeps the subject visible.
- Transparency: Check edges against the actual page background.
- Delivery: Verify the downloaded file’s dimensions, format, and size in the browser’s developer tools.
- Loading: Test with a slower network setting to spot images that delay visible content.
Give the file a descriptive name and add useful alternative text in the publishing system. When possible, provide image width and height in the page markup so the browser can reserve space during loading.
Keep a Repeatable Path From TIFF to Published Image
The next export becomes easier when you record the choices that worked. Save presets for common placements, including dimensions, profile conversion, format, and compression settings. Keep those presets flexible enough to handle photographs and graphics differently.
Retain the original TIFF and the approved web exports with clear filenames. If a banner crop changes next month, you can return to the source instead of stretching a small published image.
A dependable workflow protects both your design and your reader’s time. Start with the right dimensions, give color a deliberate check, and compress with the final display in mind. Then inspect the uploaded result. Those decisions turn a heavy source file into an image that looks right and reaches the page sooner.